First let me say this, I HATE PLUMBING! My goal is to get through this quickly and painlessly but I know it won't happen. My first to do was to make a preliminary list of the plumbing features in the boat. And here they are.Plumbing specifications The boat is stripped of all plumbing, and everything else for that matter, and I will be starting from scratch. More about plumbing later.
Removed all seacocks and thru hulls
With the right tool, I was able to remove all Groco SV series seacocks(6) and thru hulls in about an hour with the help of another. They all came out too easy in my opinion and I was glad I decided to replace them. I was reluctant to replace because I think the old Groco SV series design is fool proof. These older seacocks have the rubber cylinder that you compress with a pressure plate that sealed the thru hull. Nothing to corrode. I will replace with the Groco BV series of seacocks and use a 1/2 inch G10 fiberglass backing plate instead of plywood.
I made a new water tank lid out of G10 fiberglass and got it installed. The brass fittings are the air vents. I also removed the ss receptacle that the galley table support nested in. It protruded in the water tank. I am going to do away with that extenion system so I just fiberglassed over the round hole. I also added a viewing port on the aft end of the water tank. I placed this port on the low point of the water tank will allow me to get all the water and dirt out when the tank is not in use and to also inspect the outlet lines for any clogging.
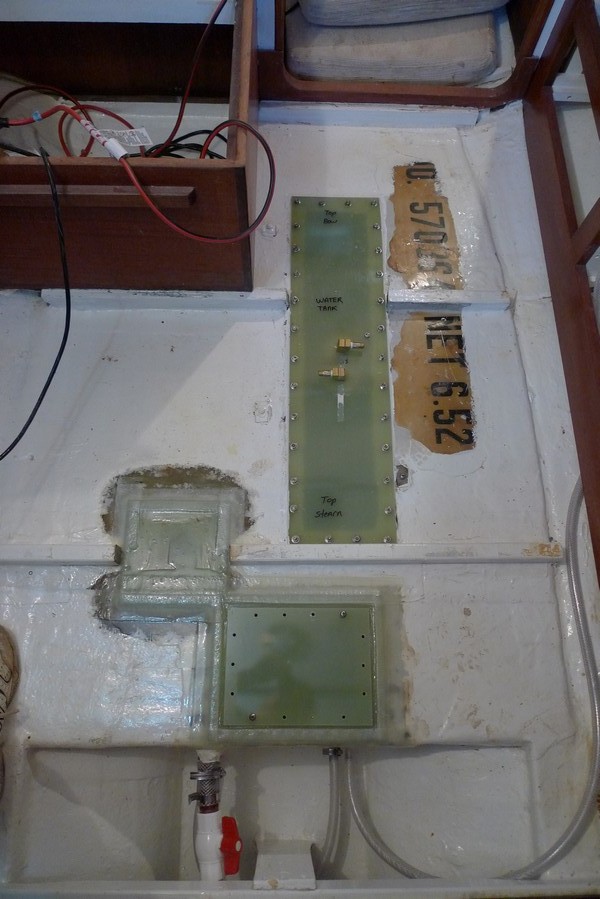

I added a water filter and placed it beside the galley sink.

Seacocks/Thruhulls/Backing Plates
I have been working on the installation of new seacocks/thruhulls. I have milled some 1/2 inch thick G10 FRP for backing plates for the new seacocks. I have drilled 1/4 inch deep x 5/8 inch diameter holes with forstner bits to accept 5/16 inch silicon bronze bolts that will be epoxied into place to accept the seacock. I will bolt the seacock to the backing plate. I will use epoxy putty to seat the backing plate/seacock onto the hull prior to fiberglassing the backing plate to the hull with fiberglass tape. Pics below.
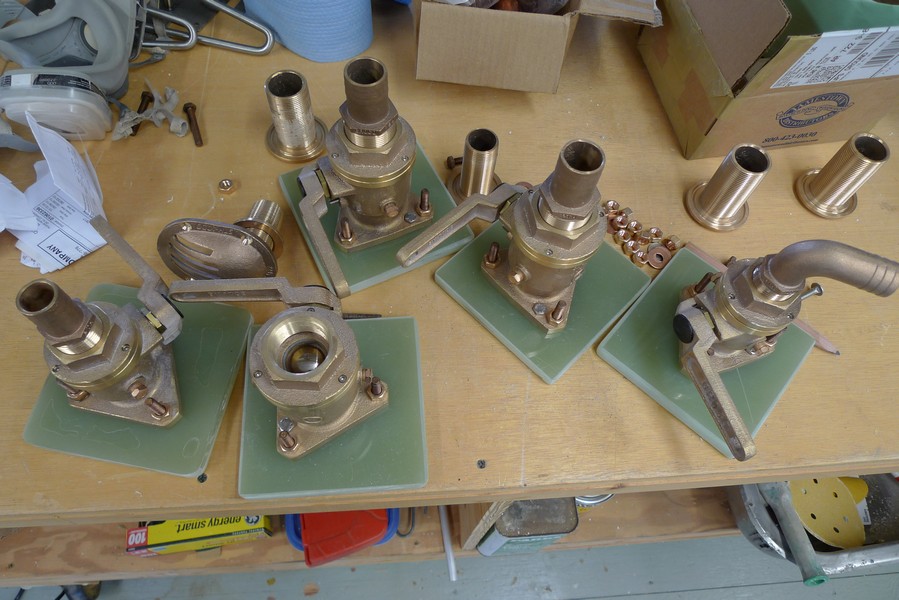
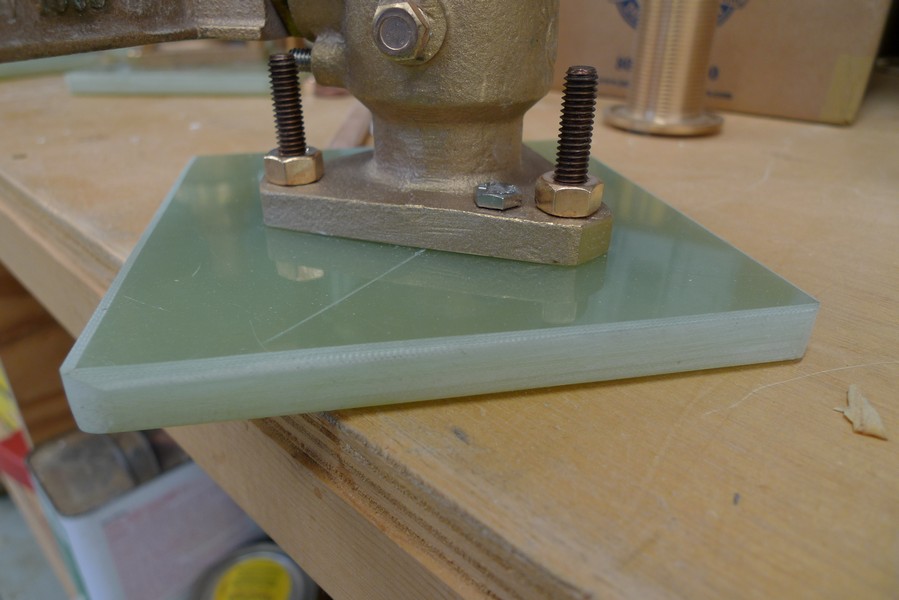
Used silicon bronze bolts to bolt backing plate to seacock.
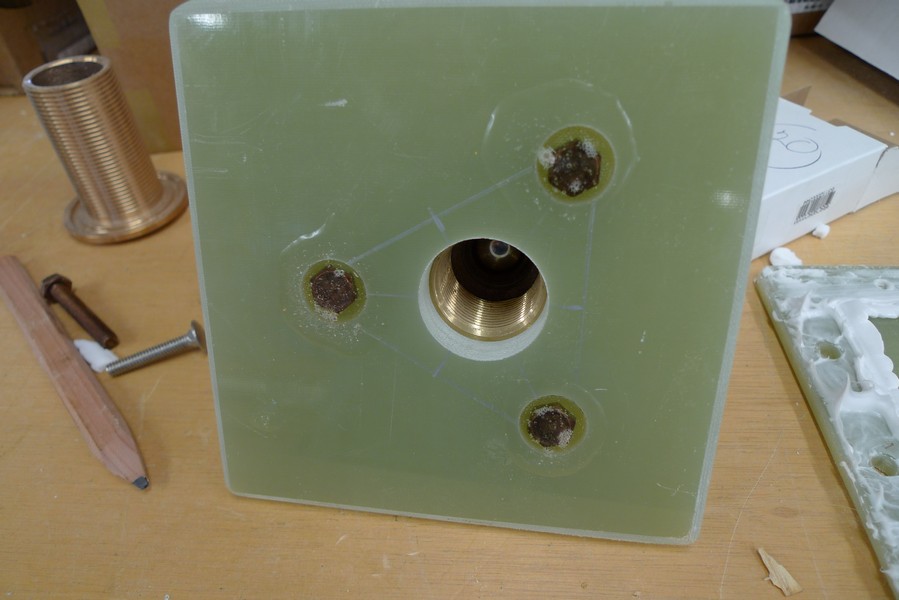
The holes lined up on first try. That's a change. Bolts are countersunk and epoxied in place.
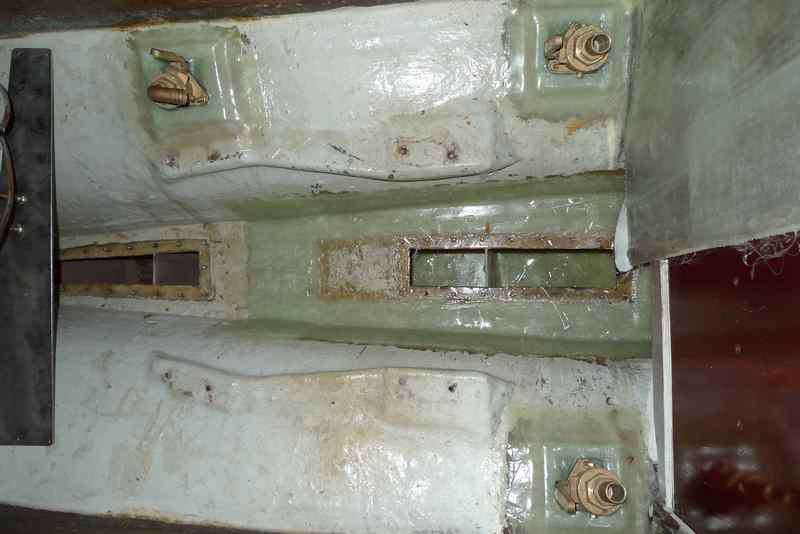
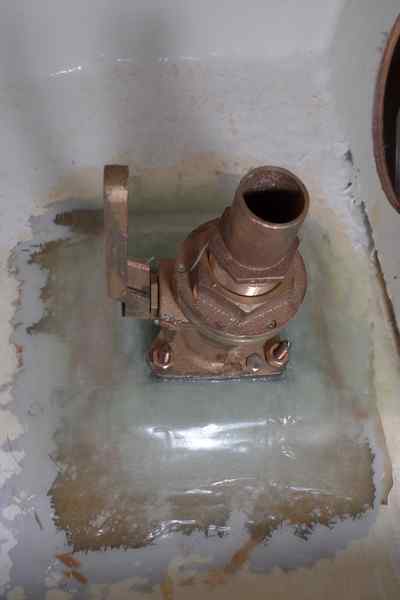
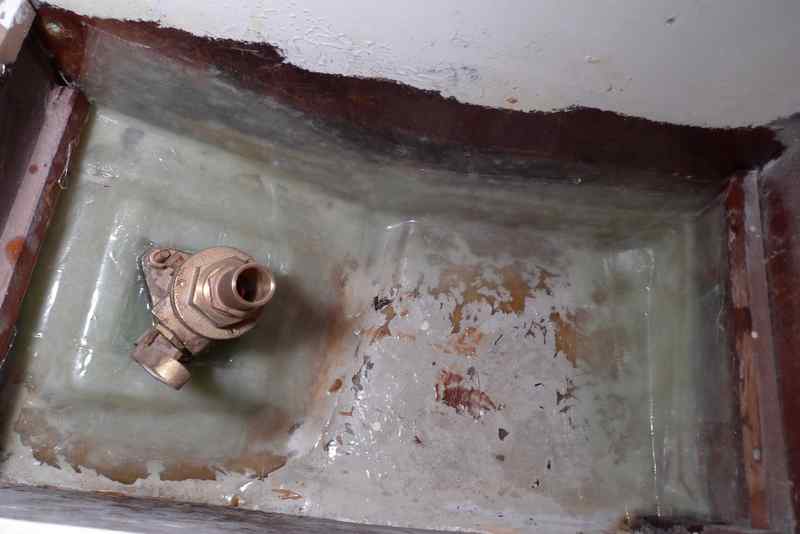
Plumbing: Seacock Installation
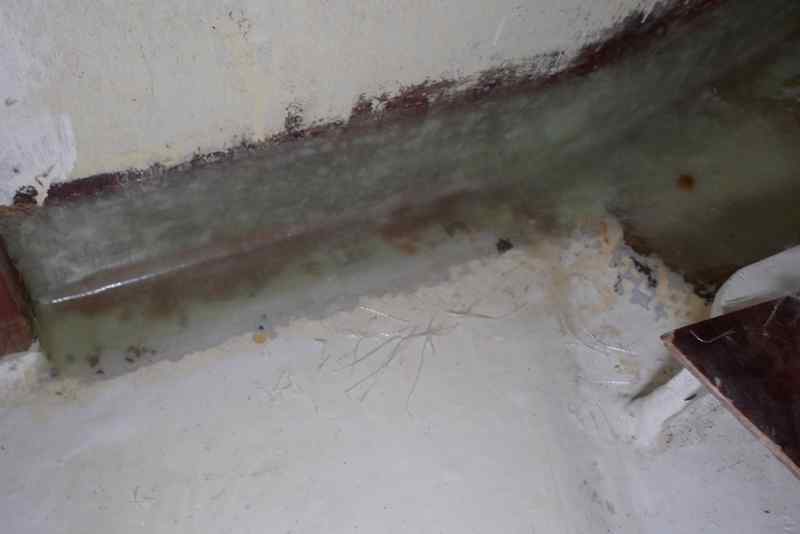
I mounted 3/8 inch silicon bronze bolts to 8 inch by 8 inch by 1/2 inch thick G10 block. Then I mounted the seacock onto the block. I then fiberglassed that to the inside of the hull. There was a trick to that because I had to perfectly line up the seacocks to the thru hull and keep it there without slippage until the fiberglassing was done. I did this by slipping the thru hull into its hole and slightly screwing the thru hull to the seacock. I then made a thick epoxy putty with epoxy and wood flour and layered the putty around the hole and under the G10 block. I then pressed the block down onto the putty and let it seat well, squeezing around putty around the edge of the block. I then smoothed out the excess putty and put a layer of fiberglass tape around the perimeter of the block and let it set a bit. Before it cure completely I finished fiberglassing the block in place with 8 to 12 layers of tape. Pics below
.
Engine room seacocks installed and fuel tank lid fiberglassed back in place.
Seacock for galley sink installed.
Head bulkhead retabbed.
Head sink seacock installed and bulkhead retabbed.
Plumbing
I installed all (5) bronze thru hulls(Groco) using 3M 101 sealant. They went on with a fuss, I had to cut 1/4 inch off the threads of two because they were too long
.
Plumbing: Bilge pump installation
I have installed a two stage bilge pump system. A smaller 1100 gph pump is mounted on the bilge floor using 3m 5200 caulk to glue the lower housing to the floor. Another larger 2000 gph pump is mounted two inches above the bilge floor. The smaller pump will take care of bilge water most of the time. The larger pump will only pump if the smaller pump gets overwhelmed. Pics below:

The larger pump is mounted on lexan shelf bonded to bilge floor with 3m 5200.

The bilge thru hull is polished and mounted.
Plumbing: Galley Sink
The galley sink is all plumbed. Pic below:
